How to Customize Shopify Website?
29 April 2024A Comprehensive Guide to Customizing Your Shopify Website
In today’s digital age, establishing a strong online presence is essential for the success of any business. With e-commerce continuing to soar, having a well-designed and customized website is crucial for attracting and retaining customers. Shopify, one of the most popular e-commerce platforms, offers a plethora of customization options to help businesses create unique and engaging online stores. In this comprehensive guide, we’ll walk you through the process of customizing your Shopify website to suit your brand identity and meet your specific requirements.
Choose the Right Theme: The foundation of customization lies in selecting the perfect theme for your Shopify store. With Shopify’s vast collection of themes, ranging from free to premium options, you can find one that aligns with your brand aesthetic and functionality needs. Take your time to explore different themes, considering factors such as design flexibility, mobile responsiveness, and built-in features.
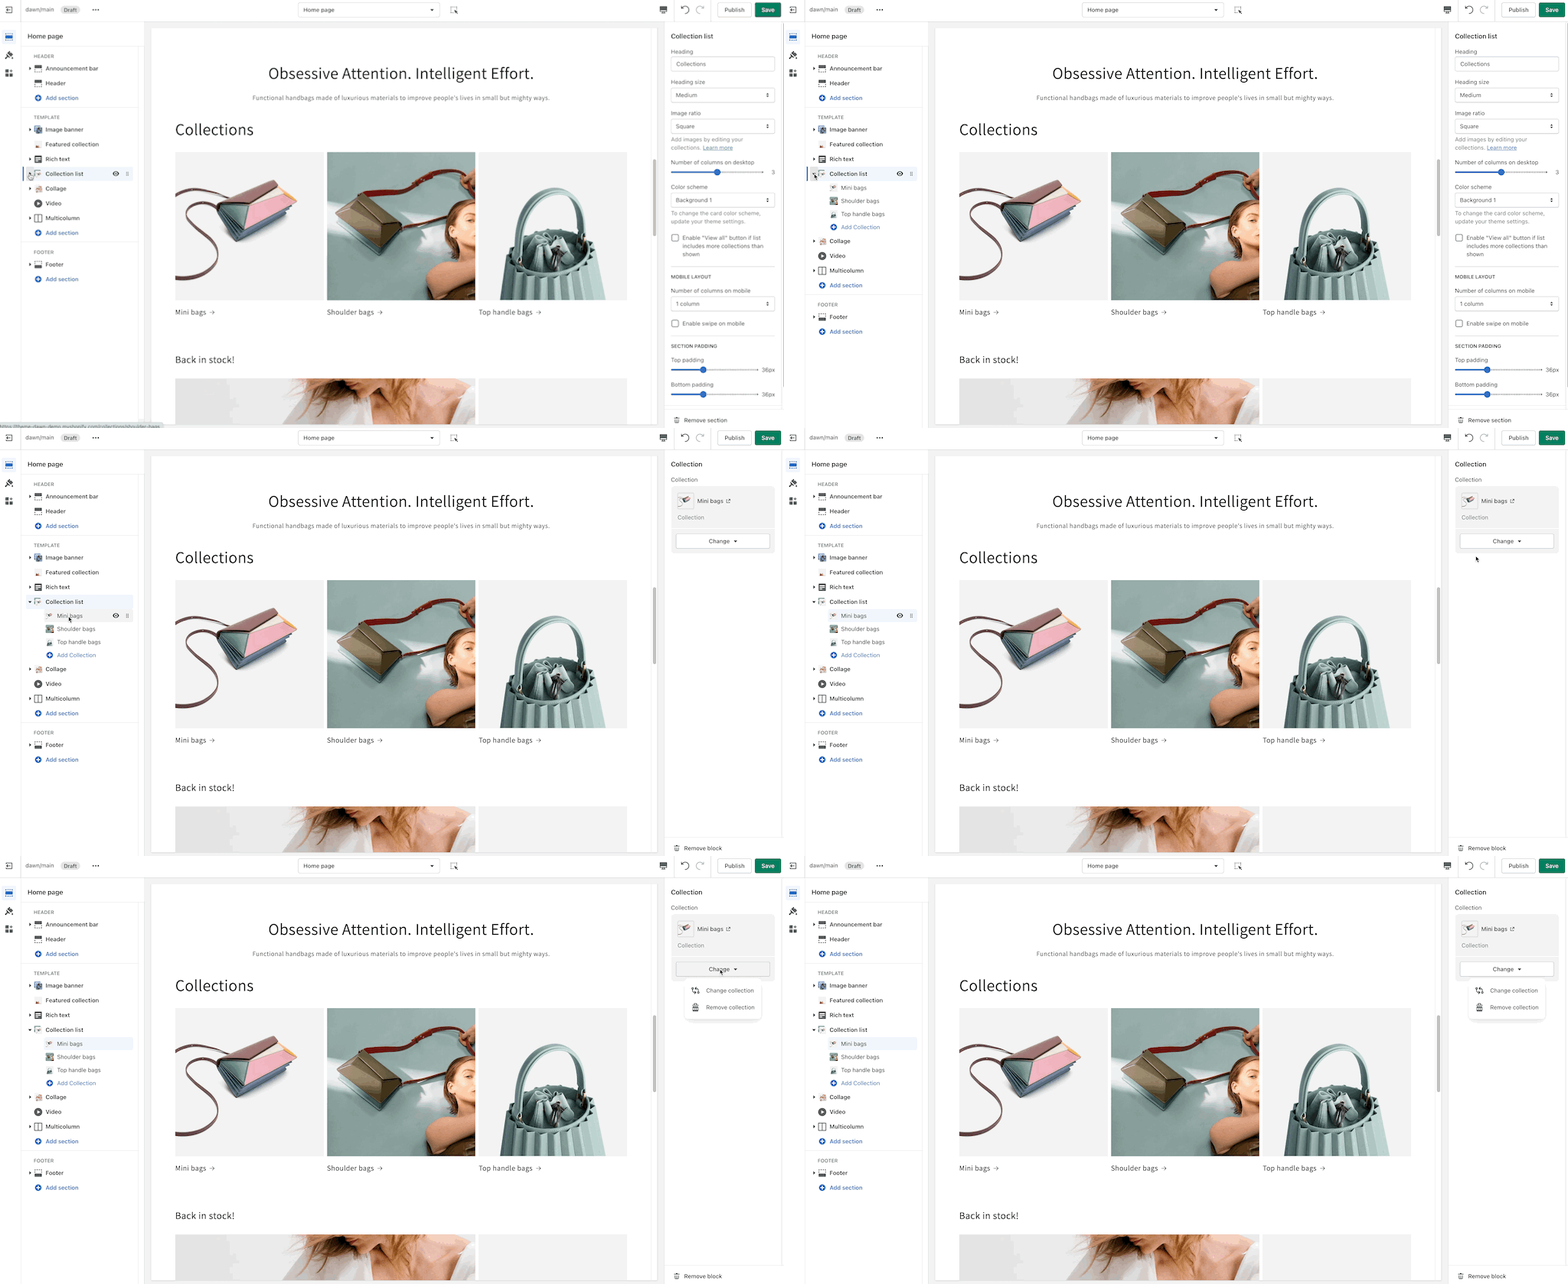
Customize Theme Settings: Once you’ve chosen a theme, it’s time to dive into customization. Shopify’s user-friendly interface allows you to tweak various theme settings without any coding knowledge. From the Shopify admin dashboard, navigate to the “Online Store” section and select “Themes.” Here, you can customize colors, fonts, layout, and other design elements to reflect your brand’s unique style.
Add Your Brand Identity: Make your Shopify website truly yours by incorporating your brand identity elements. Upload your logo, choose brand colors, and select imagery that resonates with your target audience. Consistency is key, so ensure that your brand elements are cohesive across all pages of your website.
Craft Compelling Content: Content plays a crucial role in engaging visitors and driving conversions. Use Shopify’s built-in editor to create compelling product descriptions, captivating blog posts, and informative pages about your brand and offerings. Incorporate relevant keywords to improve SEO and attract organic traffic to your website.
Explore App Integrations: Shopify’s extensive app store offers a myriad of third-party integrations to enhance your website’s functionality. Whether you need tools for email marketing, social media integration, or inventory management, there’s an app to suit every requirement. Explore different apps and select those that align with your business goals and streamline your operations.
Consider Custom Coding: For advanced customization beyond the capabilities of theme settings and apps, Shopify allows you to edit the underlying code of your website. If you have coding knowledge or access to a developer, you can modify the HTML, CSS, and JavaScript to tailor your website’s functionality and appearance to your exact specifications.
Test and Optimize: Before launching your customized Shopify website, it’s crucial to thoroughly test its performance across various devices and browsers. Pay attention to factors such as page loading speed, mobile responsiveness, and user experience. Use Shopify’s analytics tools to gather insights into visitor behavior and make informed decisions for optimization.
Stay Updated and Evolve: The process of customizing your Shopify website doesn’t end once it’s live. Stay updated on the latest design trends, technology advancements, and customer preferences to ensure your website remains relevant and competitive. Continuously monitor performance metrics and gather feedback from customers to make iterative improvements over time.
In conclusion, customizing your Shopify website is an exciting journey that allows you to bring your brand vision to life and create a memorable online shopping experience for your customers. By following the steps outlined in this guide and leveraging Shopify’s robust customization tools, you can build a stunning and functional website that sets your business apart in the digital marketplace.
.png)